There are many techniques and apps that are out on the
internet that can make so many things, but some can’t just do stuff that full
blown computer editing software can do, so, in this post, we shall guide you on
how to perform a fun filled editing technique using Adobe Photoshop, Put someone
else’s face to another head.
Yes, there are many apps and programs that can do this
easily, but, what if you want to do something that is very clean which you can
use to prank your friends or other people (Just don’t use it to blackmail
someone, that is bad)? Well, if you have a Computer with Adobe Photoshop in it,
you can do it easily without any much effort. Want to know how? Read on to the
tutorial
Editor’s Note: You can use any version of Adobe Photoshop,
in our case, we are using the CS6 Extended Version. Images of Angelina Jolie
and Johnny Depp are NOT MINE.
TUTORIAL
First, let’s gather everything that we need in order to
begin, which is basically two images, we will name them as:
- Base Image (where you will put the face)
- Source Image (where you will get the face)
But wait, you can’t just get any images that you want, you
must get both identical images which almost have the same lighting and angle of
where they are looking, take a look at our sample images (We took two second
images, the First one will be the Original Image).
Now that we have the necessary files, we can now really
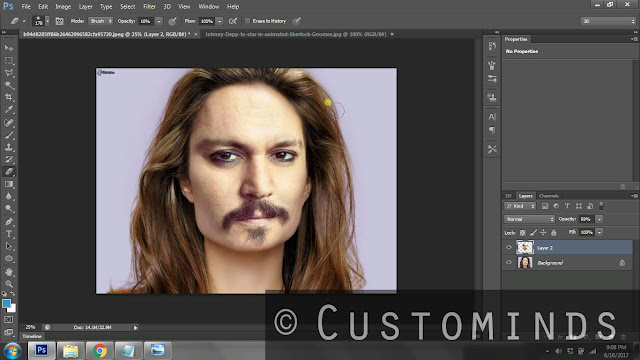
begin. Start by opening the Base Image in Adobe Photoshop, then at the same
time, open the Source Image also, then drag it (or copy it) to the Base Image.
Then, using the Magnetic Lasso Tool, make a selection of the face from the
source image, then copy-paste it (Erase the source image from the layers)
Next, using the Resize Command (Ctrl + T), resize the pasted
face layer so that the eyes of the source will match the base image (Hold the
Shift key to retain the aspect ratio of the source image, also, Lower the
Opacity so you can see if they are perfectly aligned), use Image Transformations
if necessary, like in our case, we flip the source image horizontally. If you
are done resizing, press the Enter key.
Now, some faces (after resizing with respect to aspect
ratio) are needed to be adjusted again to accommodate the source image, like in
our example, we widened the source image a bit. After you have successfully
aligned the source image with the base image, use the Eraser tool to erase the
overlapping edges of the source image, but before you begin erasing, adjust the
Opacity to around 25%. This way, the edges of the source image will not be
noticed. If you want an almost perfect edit, use a lower opacity value using
the Eraser tool (around 5-10%)
Now, here comes the fun part of it. While selecting the
source image layer, on the menu bar, select Image>Adjustments (Hold it right
there), Do you see the first seven settings from the Menu? (Starting from the
Brightness/Contrast up to Color Balance) Well, these are the common adjustment settings
that you will need to use/adjust so you can make the source image the new face
of the base image. Check out the transformation of Angelina Jolie to Johnny
Depp with the following images.
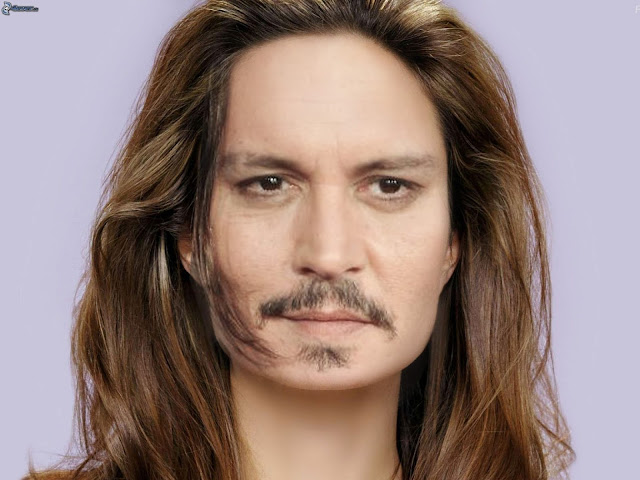
After adjusting/playing with the values of the said
settings, here is the final image!
But wait, are you sure that those are the only adjustment settings
that are needed to be touched? Well, if you want more details, there are other
features hidden in Photoshop that you can use, but as you can see, the adjustments
do the job, well actually, you can do it faster sometimes, how?
You see, sometimes, you don’t need to adjust every single
one of them, sometimes, it’s just the Color Balance, sometimes the Brightness/Contrast
can already finish it, and etc. Like this one which we were able to finish
after adjusting around 2-3 image settings.
Enjoyed the tutorial? We have more tutorials to come so
Like/Follow/Subscribe our Social Media sites.
VIDEO TUTORIAL


0 comments:
Post a Comment